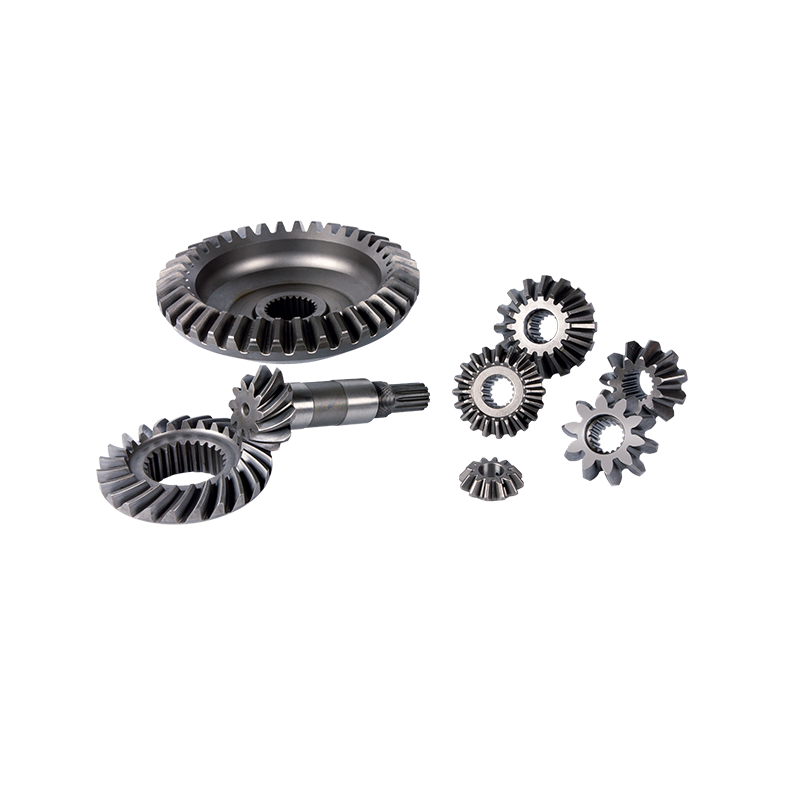
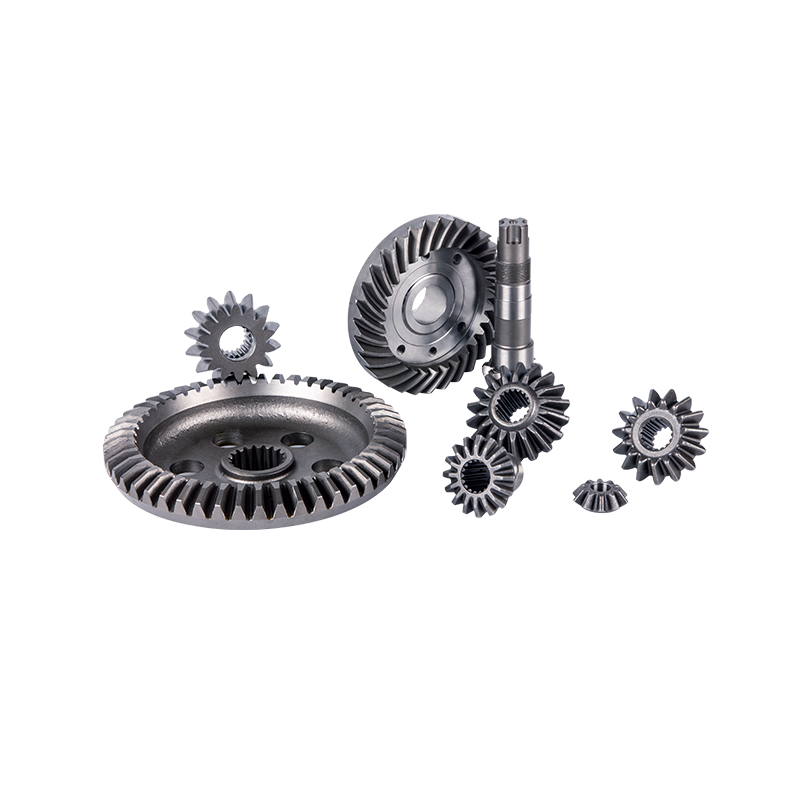
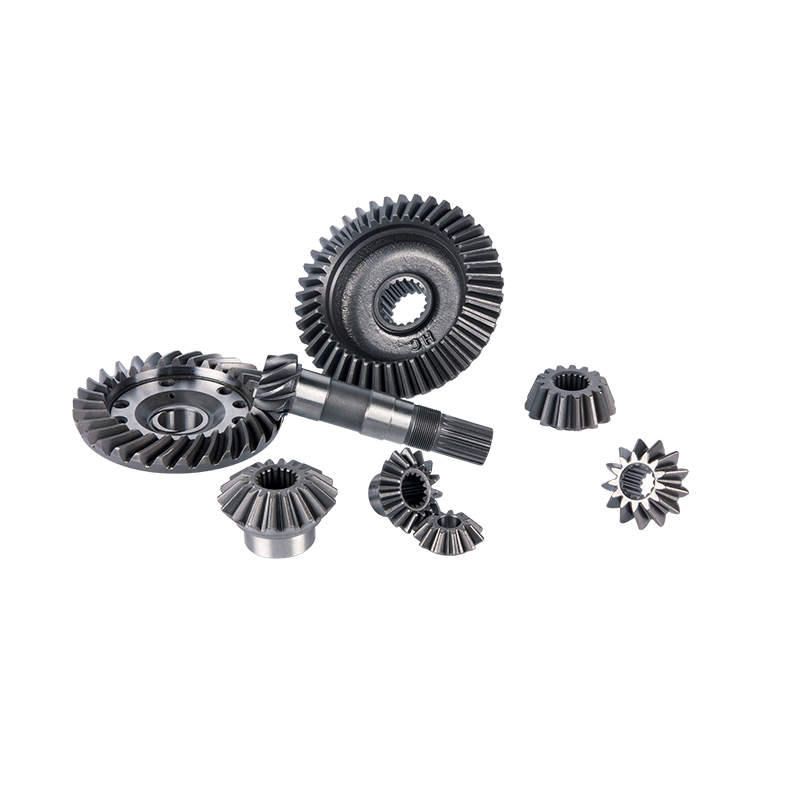
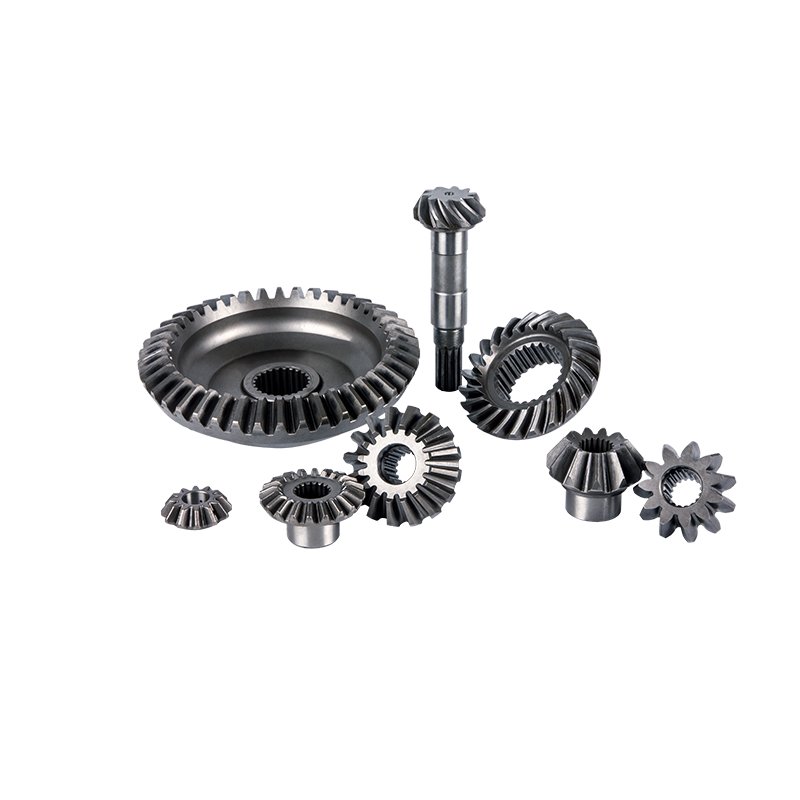
Gear blanks serve as the initial raw material for gear manufacturing, and their quality directly impacts the machining accuracy and final performance of subsequent gears. Inspecting gear blanks aims to promptly identify and address potential defects, ensuring the blanks meet machining requirements. The following details the inspection process:
1. Inspection Items
Visual Inspection
Surface Defects: Thoroughly examine the blank surface for cracks, sand holes, gas pores, inclusions, and other defects. These defects may originate from forming processes like casting or forging and can severely compromise gear strength and reliability. For instance, cracks may cause gear fractures during operation, while sand holes and gas pores reduce gear density, affecting load-bearing capacity.
Surface Roughness: Verify that the blank's surface roughness meets specifications. Excessively rough surfaces increase subsequent machining difficulty and may compromise gear fit accuracy and wear resistance.
Dimensional Accuracy Inspection
External Dimensions: Measure the blank's outer diameter, inner diameter, width, height, and other external dimensions using appropriate gauges (e.g., calipers, micrometers) to ensure compliance with design drawings. Significant dimensional deviations may prevent proper gear installation or cause poor fit with other components.
Geometric Tolerances: Inspect the blank's geometric tolerances, including roundness, cylindricity, concentricity, and perpendicularity. Non-conforming geometric tolerances compromise transmission smoothness and precision. For instance, excessive roundness error causes vibration and noise during gear operation.
Material Inspection
Chemical Composition Analysis: Verify the blank's chemical composition meets design specifications through methods like spectral analysis. Different gear operating conditions and performance requirements necessitate varying materials and chemical compositions. For instance, gears subjected to high loads and speeds require alloy steels with elevated strength and hardness.
Mechanical Properties Testing: Conduct tensile tests, impact tests, etc., on the blank to determine mechanical properties such as tensile strength, yield strength, elongation, and impact toughness, ensuring compliance with gear service requirements. Blank gears with substandard mechanical properties may fail to withstand operational loads after machining, leading to premature failure.
2. Inspection Methods
Visual Inspection: Surface defects such as cracks or sand holes can be identified directly by the naked eye or with a magnifying glass. This simple, intuitive method quickly detects obvious flaws.
Gauge Measurement: Utilize calipers, micrometers, dial indicators, and other gauges to measure blank dimensional accuracy and geometric tolerances. Adhere to proper operating procedures during measurement to ensure accuracy.
Non-Destructive Testing
Magnetic Particle Inspection: Suitable for detecting surface and near-surface defects in ferromagnetic blank materials. After magnetizing the blank, magnetic particles are applied to its surface. If defects exist, the particles will form magnetic traces at the defect locations, revealing their position and shape.
Ultrasonic Testing: Used to detect internal defects in the blank, such as porosity or inclusions. When ultrasonic waves propagate through the material, they reflect and refract upon encountering defects. By receiving and analyzing the reflected waves, the location and size of defects can be determined.
Penetrant Testing: Suitable for detecting surface-opening defects in non-porous blank materials. A penetrant is applied to the blank surface, where it infiltrates into defects. Excess penetrant is then removed, followed by application of a developer. The penetrant trapped within defects becomes visible under the developer's action.
Chemical Analysis and Mechanical Testing: Samples are taken from the blank and sent to specialized testing facilities for chemical composition analysis and mechanical property testing. Chemical analysis typically employs equipment such as spectrometers, while mechanical testing utilizes devices like tensile testing machines and impact testing machines.
3. Defect Handling
Surface Defect Treatment
For minor surface scratches, burrs, etc., sandpaper, files, and similar tools may be used for grinding and finishing.
For deeper cracks, sand holes, and other defects, if the affected area is small, repair methods such as welding or patch welding may be employed. Subsequent grinding and non-destructive testing must be conducted to ensure repair quality. If the defect area is large or severely compromises the blank's performance, the part should be scrapped.
Dimension Tolerance Deviation Handling
Minor dimensional deviations can be adjusted and corrected through subsequent machining processes. For example, oversized blank outer diameters can be reduced by increasing cutting depth during turning. Blanks with poor concentricity can be machined using methods like double-center mounting to improve concentricity accuracy.
If dimensional deviations are too large to be corrected through subsequent machining, or if geometric tolerances are severely out of tolerance, affecting gear assembly and performance, the blank should be scrapped.
Material Nonconformance Handling
If chemical composition deviates slightly from requirements but has minimal impact on gear performance, continued use may be determined based on actual conditions. If deviations are significant or mechanical properties fail to meet standards, severely compromising gear safety and reliability, the blank should be scrapped.


