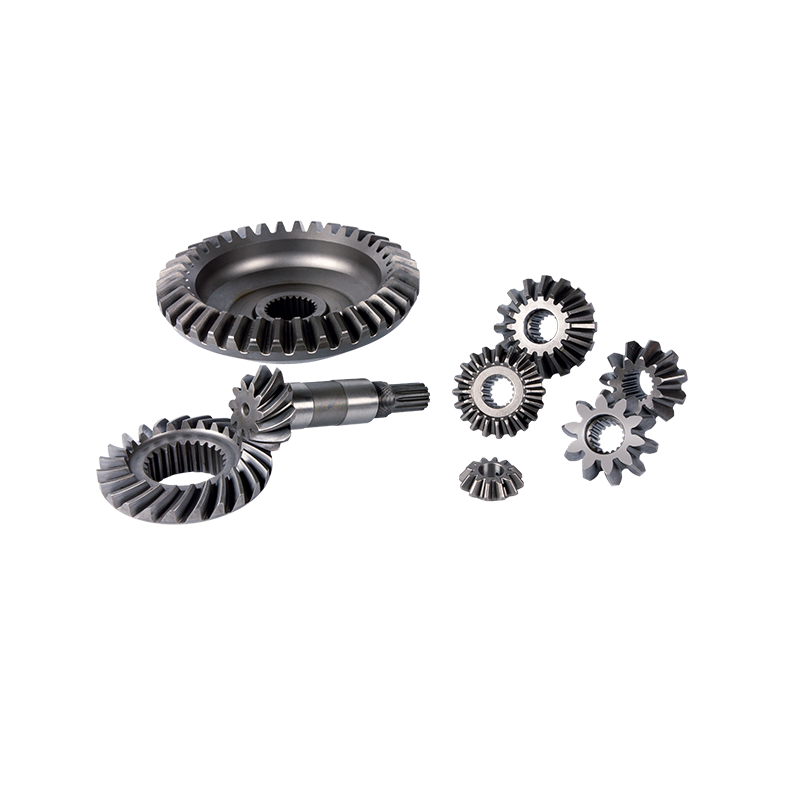
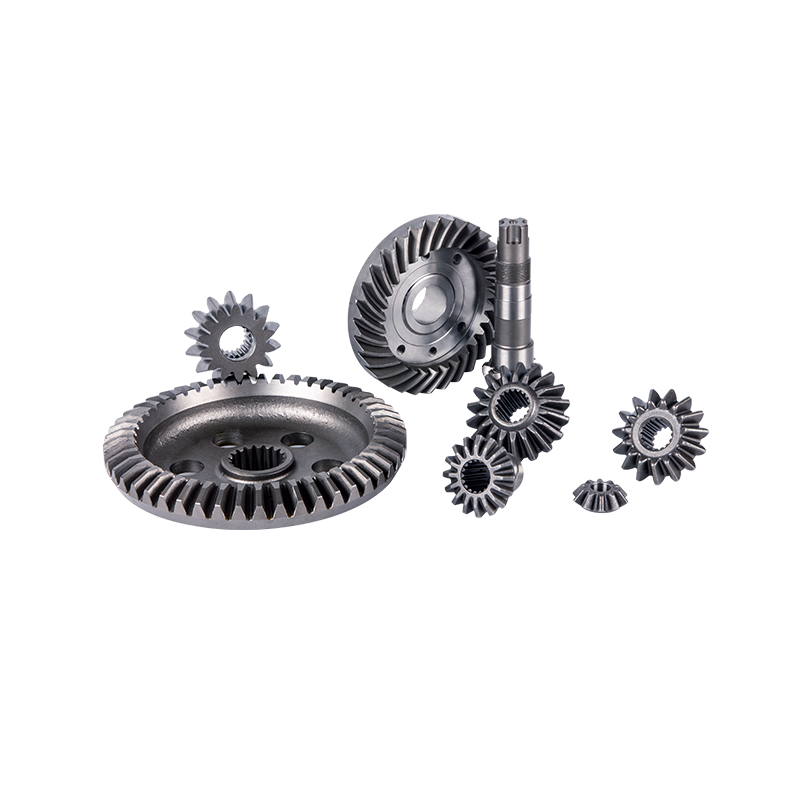
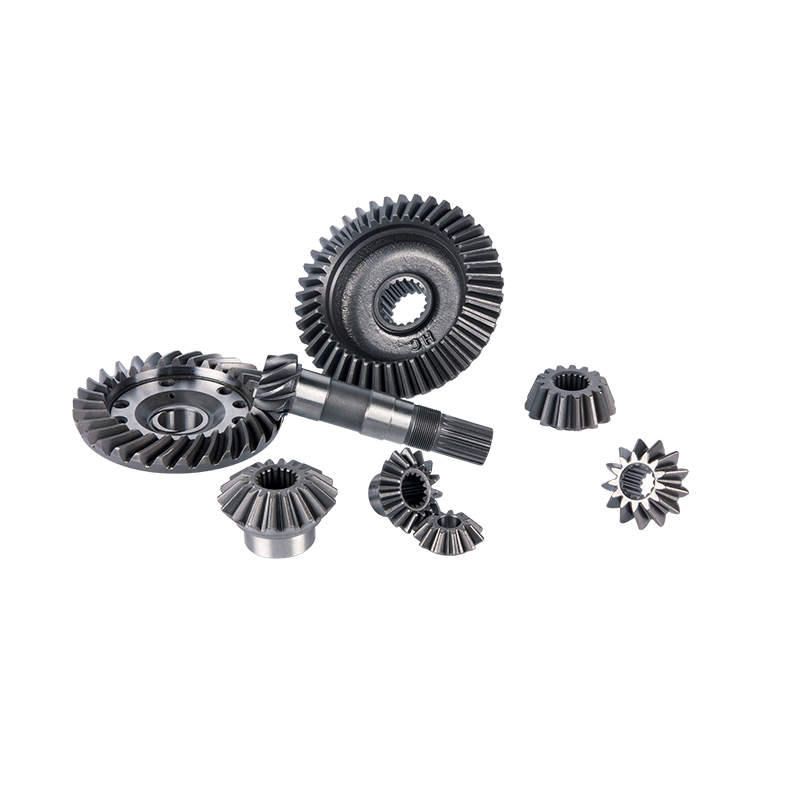
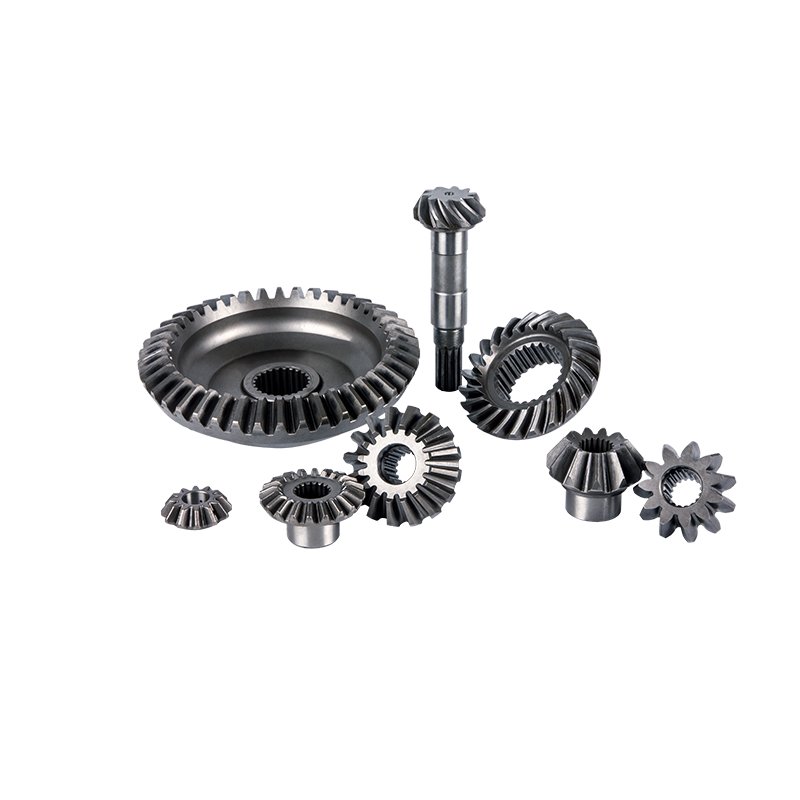
In the production process of industrial gears such as spiral bevel gears and straight bevel gears, forging blanks, turning, and gear hobbing/shaping are the three core processes that establish gear precision and strength. Each step is interlinked, determining the fundamental performance of the gear. Below, we break down the technical points, functions, and key quality control aspects of each process based on the production scenarios of small and medium-sized gear factories in Wenling:
1. Forging Blanks — Laying the Foundation for Gear Strength
Process Function: Through plastic deformation, this process reshapes the internal microstructure of metal blanks, eliminating casting porosity and defects like gas holes. It aligns metal fibers continuously along the gear tooth profile, significantly enhancing the gear's bending strength, impact toughness, and wear resistance. This is an indispensable preliminary process for heavy-duty and high-speed gears.
Core Process (Using Bevel Gears as Example)
Cutting: Using sawing machines or cutting tools, round steel bars are cut into billets of specified weights based on finished gear dimensions.
Heating: Billets are loaded into medium-frequency induction furnaces and heated to 1100–1200°C (for carbon steel) to achieve full austenitization and enhance plasticity.
Forging: Employing die forging (the mainstream method for small-to-medium gear manufacturers), apply pressure to the heated blank using upper and lower dies on a forging press to form a rough blank resembling a bevel gear (including tooth profile, hub, and preformed shaft bore);
Cooling and Heat Treatment: Post-forging, the blank undergoes slow cooling (or isothermal annealing) to relieve forging stresses and reduce hardness for subsequent machining.
Key Quality Control Points
Strictly control heating temperature and soak time to prevent coarse grain structure from excessive heat or forging cracks from insufficient temperature;
Ensure die cavity precision to minimize issues like misalignment and excessive flash, reducing subsequent machining allowances;
Post-forging non-destructive testing (e.g., magnetic particle inspection) is required to detect surface cracks, folds, and other defects; non-conforming parts are immediately rejected.
2. Turning Process — Refining Gear Blank Contours
Process Function: Precisely machine forged blanks to establish reference surfaces and dimensional outlines for gears. This provides high-precision positioning benchmarks for subsequent gear hobbing/shaping operations, ensuring gear tooth profile accuracy.
Core Machining Steps (Rough Turning and Finish Turning)
Rough Turning: Rapidly removes surface scale and most machining allowance, forming the preliminary shape of the gear's outer diameter, end face, hub, and shaft bore, while leaving a 0.5–1.5mm allowance for finish turning.
Finish Turning: High-precision machining performed on a CNC lathe to ensure accuracy of critical reference surfaces:
- Perpendicularity tolerance between shaft bore and end face controlled at 0.01–0.03mm;
- Dimensional tolerances for outer diameter and shaft bore meet IT7–IT8 grade;
- Surface roughness Ra ≤ 1.6μm, providing stable support for clamping and positioning during subsequent gear hobbing.
Key Process Considerations for Bevel Gears
For spiral bevel gears and straight bevel gears, turning requires additional machining of a tapered reference surface. This ensures precise alignment between the tool and workpiece relative to the bevel gear's pitch cone angle during subsequent tooth profile machining.
Quality Control Critical Points
Adhere to the “single-setup” principle for machining shaft bores and end faces to eliminate positioning errors from multiple setups;
Regularly calibrate the tool tip radius on lathe cutters to prevent contour errors during cutting;
Use dial indicators and inside micrometers for real-time dimensional inspection to ensure compliance with drawing specifications.
3. Gear Hobbing / Shaping — Core Gear Tooth Profile Machining
Processing Principle: Hobbing employs the generating motion between the hob and the workpiece. Through the combined actions of hob rotation, workpiece rotation, and axial feed, the tooth profile is progressively cut in a manner similar to helical milling. Shaping utilizes the generating motion between the shaping cutter and the workpiece. By coordinating the reciprocating cutting action of the cutter with the rotation of the workpiece, the tooth profile is formed in a manner similar to planing.
Applicable Gears: Hobbing is suitable for straight gears, helical gears, and worm gears, but not for internal gears or multi-stage gears. Shaping is suitable for straight gears, internal gears, and multi-stage gears (stepped gears). Special attachments are required for helical gear processing.
Process Advantages: Hobbing excels in high processing efficiency and superior surface roughness, making it ideal for mass production. Shaping offers high tooth profile accuracy with minimal tooth directional error, suitable for complex gear structures.
Suitable Applications: Gear hobbing is suitable for rough machining of straight bevel gear blanks at Wenling Gear Factory and mass production of straight gears. Gear shaping is suitable for finishing spiral bevel gears and custom production of internal gears.


